How to Dry and Store Herbs at Home
Drying herbs at home is simple when you control three things: moisture, airflow, and storage. Start with healthy herbs, remove surface moisture, choose a drying method that suits the plant, and do not seal anything in a jar until the leaves are fully crisp. Once dry, keep the herbs airtight and away from heat, moisture, and bright light. For more guidance on growing, using, and preserving herbs, explore our Herbs & Natural Living guides.
In this guide
The Best Way to Dry Herbs at Home: Quick Answer
Use air drying for sturdy, relatively low-moisture herbs such as rosemary, thyme, oregano, and sage when your indoor air is dry. A food dehydrator gives you more control and is especially useful for tender or higher-moisture herbs such as basil or mint. Whatever method you choose, the herbs need to become completely dry before storage.
| Method | Best for | Typical setting or time | Main advantage |
|---|---|---|---|
| Air drying | Rosemary, thyme, oregano, sage and similar sturdy herbs | Usually about 7–14 days, depending on humidity and airflow | No special equipment needed |
| Food dehydrator | Tender or higher-moisture herbs and humid conditions | About 95–115°F (35–46°C); begin checking after a few hours | Controlled heat and airflow |
| Oven | Small batches when other methods are not practical | Use only a suitably low setting and follow the appliance instructions | Faster, but easier to overheat the herbs |
Residual moisture inside a sealed container creates poor storage conditions and can lead to spoilage. If you are unsure, give the herbs more drying time before packing them away.
1. Harvest Herbs at the Right Time
Good dried herbs start before the drying process. Harvest healthy, undamaged plant material and avoid stems or leaves showing signs of disease, decay, or heavy pest damage.
For many culinary herbs, a useful time to harvest is after morning dew has dried and before the hottest part of the day. Many leafy herbs are also harvested before their flowers fully open, when the leaves are still in good condition for culinary use.
How you make the cut matters too. If you want the plant to continue producing afterward, see how to harvest herbs without slowing new growth.
Herbs left in a warm pile after harvest can wilt and trap moisture. Small batches are easier to clean, arrange, and dry evenly.
2. Prepare Fresh Herbs Before Drying
Sort the harvest first. Remove bruised, discolored, damaged, or unhealthy leaves and inspect the stems for insects or debris.
Rinse herbs gently under cool running water when cleaning is needed. Shake off the excess water and dry the surface thoroughly with a clean towel or salad spinner. The goal is to avoid adding unnecessary moisture to the drying process.
- Start with clean, healthy leaves and stems.
- Remove damaged or discolored plant material.
- Wash gently rather than soaking herbs for a long time.
- Remove as much surface water as possible before drying.
- Keep batches small enough for air to circulate around the herbs.
3. Choose the Right Drying Method
Air Drying Herbs
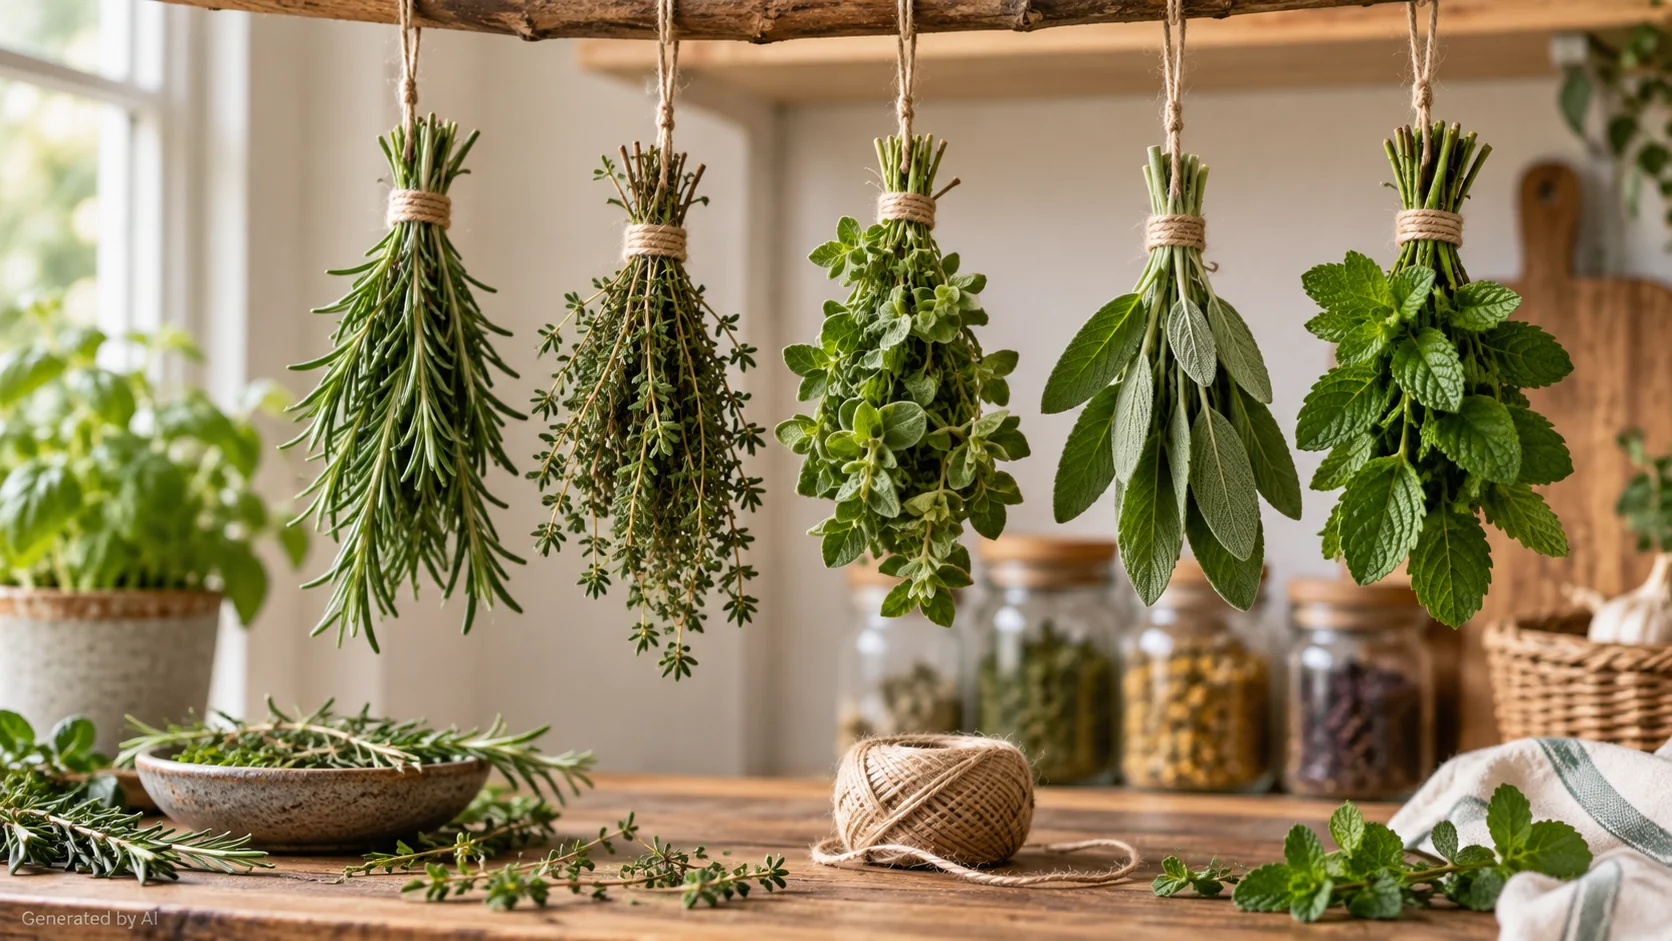
Air drying works particularly well for sturdy herbs with relatively low moisture content. Gather stems into small bundles rather than one thick bunch.
- Tie several stems loosely together.
- Hang the bundles in a dry place with good airflow.
- Keep them away from direct sunlight and kitchen steam.
- Check the center of each bundle for remaining moisture.
- Expect the process to take roughly one to two weeks.
Drying Herbs in a Dehydrator
A dehydrator is useful when humidity is high or when tender herbs would dry too slowly in bundles. Arrange the leaves or stems in a single layer so air can move around them.
- Spread herbs in one uncrowded layer.
- Use a low herb-drying temperature.
- A range around 95–115°F (35–46°C) is commonly used.
- Follow the instructions for your individual dehydrator.
- Remove the herbs once they are crisp and fully dry.
Oven Drying
Oven drying can work, but many home ovens do not maintain the very low, gentle temperatures that herbs prefer. Excessive heat can reduce color and aroma.
If you use an oven, follow the manufacturer's instructions, choose an appropriately low setting, spread the herbs in a thin layer, and check them frequently rather than leaving them unattended.
When Freezing May Be Better
Drying is not automatically the best choice for every herb. Tender herbs such as basil, parsley, chives, dill, or mint can also be frozen when preserving a fresher flavor for cooked dishes matters more than creating a shelf-stable dried herb.
Which Herbs Are Best for Drying?
Sturdy herbs usually tolerate slow air drying better than soft, moisture-rich leaves. Tender herbs can still be dried, but a dehydrator often gives you a more predictable result.
| Herb | Good starting method | What to watch |
|---|---|---|
| Rosemary | Air drying or dehydrator | Check thicker stems before storage. |
| Thyme | Air drying or dehydrator | Small leaves dry relatively easily. |
| Oregano | Air drying or dehydrator | Use small bundles with good airflow. |
| Sage | Air drying or dehydrator | Large leaves should not remain soft in the center. |
| Basil | Dehydrator | High-moisture leaves benefit from faster drying. |
| Mint | Dehydrator or careful air drying | Avoid dense bundles that hold moisture. |
| Parsley | Dehydrator | Dry thoroughly before sealing. |
If you are still deciding which herbs are worth growing for your kitchen, compare these easy kitchen herbs to grow. If you are just getting started, our guide to the best herbs to grow at home for beginners can help you choose a manageable first selection.
4. How to Tell When Herbs Are Completely Dry
Do not decide only by the number of hours or days. Drying time changes with leaf thickness, humidity, airflow, bundle size, and the method you use.
The texture of the herbs is a better final check.
- Leaves should feel crisp rather than cool, soft, or leathery.
- Leaves should crumble easily when rubbed between your fingers.
- Thin stems should be brittle and break rather than bend.
- Check several pieces from different parts of the batch.
- If anything still feels flexible or damp, continue drying.
If moisture or condensation appears inside a storage container, remove the herbs and dry them further. Herbs showing mold or an obviously musty spoilage odor should be discarded.
5. How to Store Dried Herbs Properly
Once the herbs are thoroughly dry, protect them from the same things that reduce quality after drying: moisture, air, light, and heat.
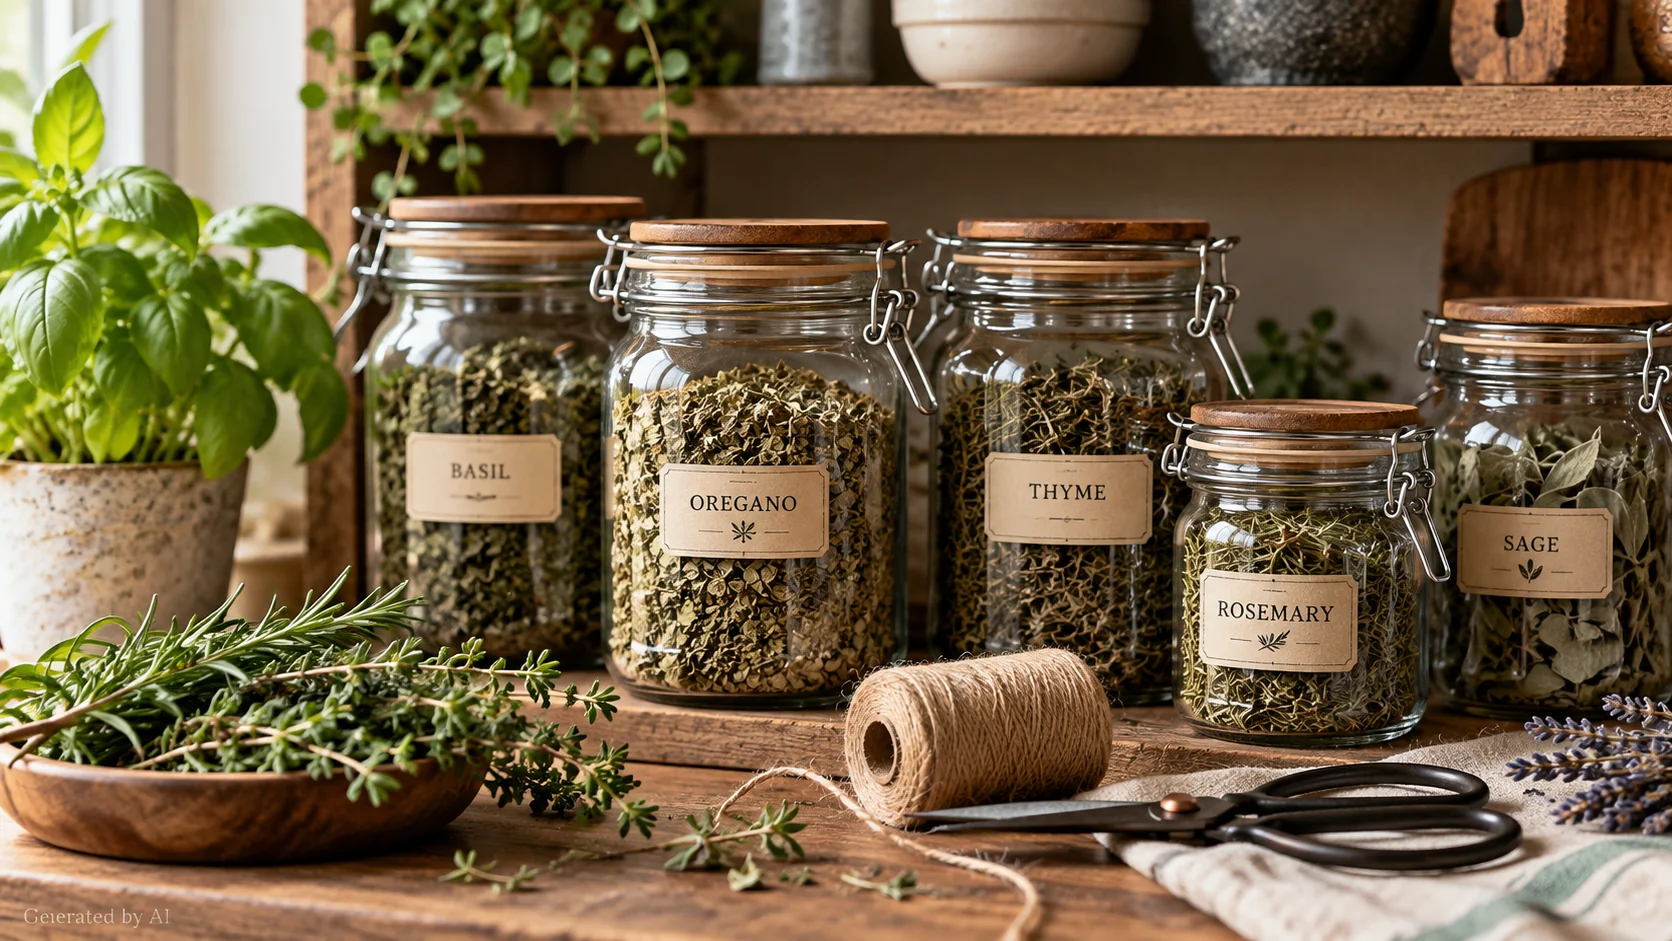
Clean glass jars with tight-fitting lids make it easy to see the herbs and check for unexpected moisture.
Store jars in a cabinet or pantry rather than on a sunny windowsill.
A shelf directly above the stove, sink, or dishwasher is not an ideal storage location.
Crush or crumble herbs shortly before cooking rather than grinding the entire harvest immediately.
Add the herb name and drying or harvest date. Once several herbs are dried, surprisingly similar-looking leaves can be difficult to identify months later.
How Long Do Dried Herbs Last?
Properly dried herbs stored in a cool, dry, dark location can maintain useful quality for many months. A practical target is to use most home-dried culinary herbs within about one year for their best aroma and flavor.
The date on the jar is only a guide. Open the container and check the aroma. If the herb has lost most of its scent and flavor, replacing it will usually improve your cooking even if the leaves still look dry.
Dried herbs are generally more concentrated than fresh herbs. A useful starting guideline for many recipes is about 1 teaspoon dried herb for 1 tablespoon fresh herb, then adjust to taste.
Common Herb-Drying Mistakes to Avoid
Making Bundles Too Large
A thick center dries slowly and traps moisture. Several small bundles are easier to monitor than one large bunch.
Drying in Direct Sunlight
Strong light and heat can reduce color and aroma. Choose a dry, shaded location with steady airflow.
Using Too Much Heat
Faster is not automatically better. Gentle drying helps protect the aroma that makes culinary herbs useful.
Storing Herbs Too Early
If leaves are still flexible, leathery, or damp, they are not ready for an airtight container.
Crushing the Entire Batch
Keeping the dried leaves mostly whole until use helps protect their aroma during storage.
Putting Jars Beside the Stove
Heat, steam, and repeated temperature changes make a cooking area convenient but less suitable for long-term storage.
Drying and Storing Herbs at a Glance
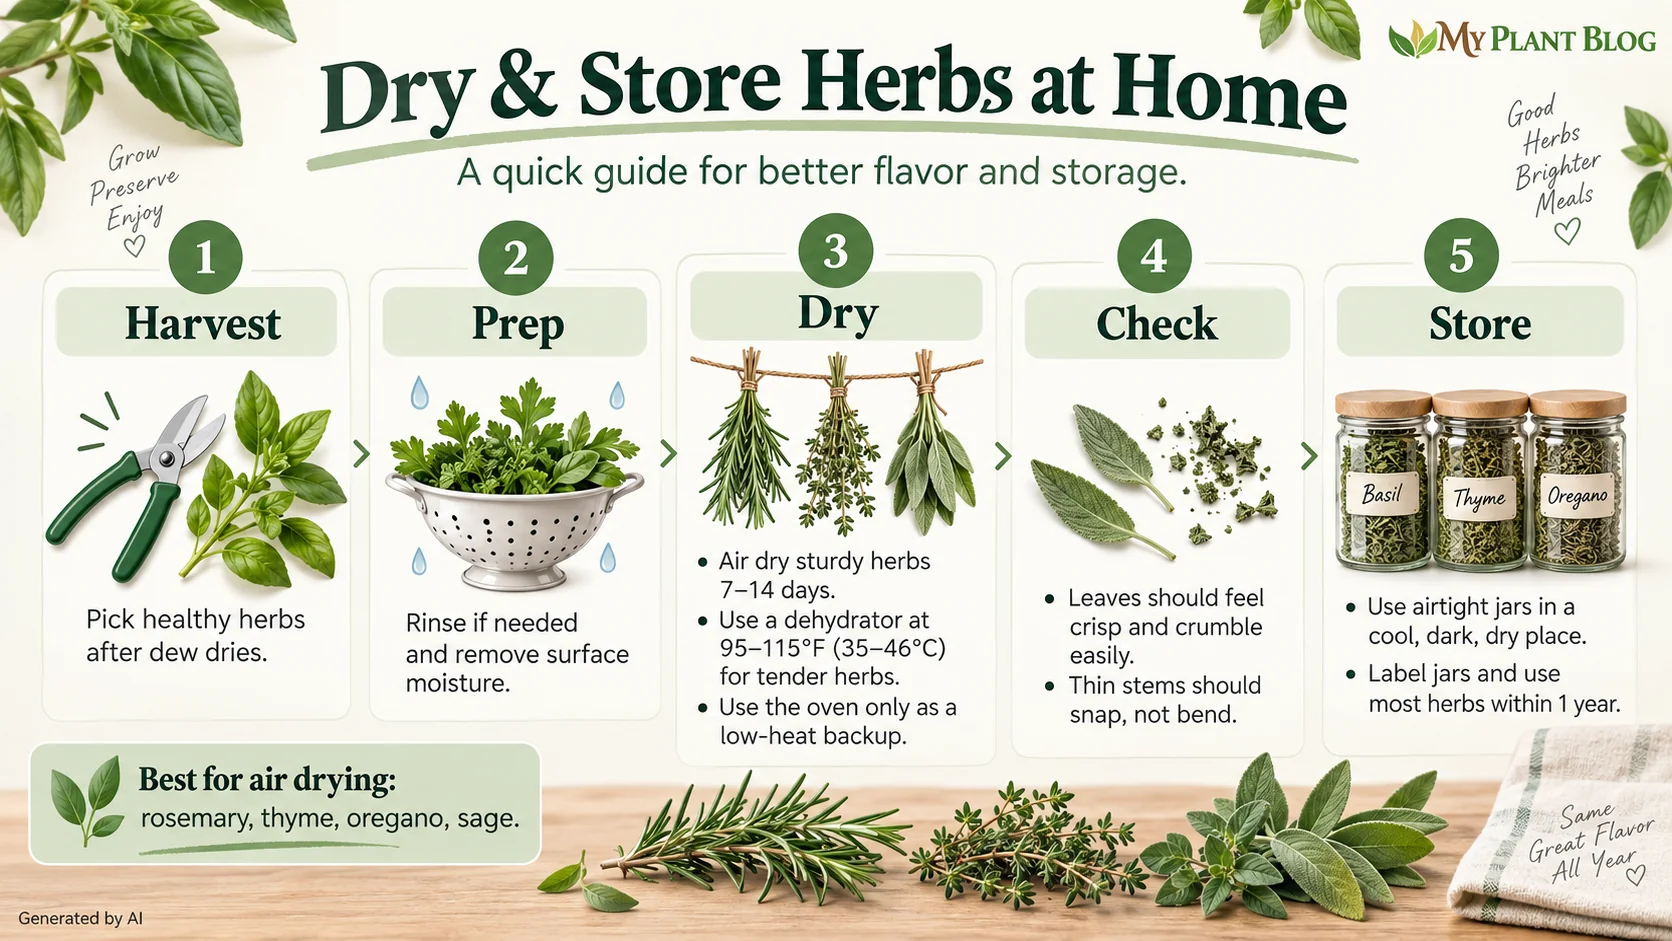
The entire process comes down to five simple stages: harvest healthy herbs, prepare them carefully, dry them thoroughly, check that no moisture remains, and store the finished herbs in a cool, dark place.
From Growing Herbs to Preserving the Harvest
Drying works best when it is part of a simple herb-growing routine: grow healthy plants, harvest them carefully, preserve only good plant material, and store the finished herbs correctly.
You do not need a garden to produce herbs for drying. Small-space gardeners can grow herbs on a windowsill and preserve the surplus when plants are producing well.
If your plants are already established but you are unsure about watering, trimming, or their individual needs, see how to care for basil, rosemary, mint, and other herbs before planning your next harvest.
Frequently Asked Questions About Drying and Storing Herbs
What is the easiest way to dry herbs at home?
Air drying is one of the easiest methods for sturdy herbs such as rosemary, thyme, oregano, and sage when the room is dry and well-ventilated. A dehydrator is more predictable for tender herbs or humid conditions.
Should you wash herbs before drying them?
Clean herbs as needed under cool running water, remove damaged material, and then remove as much surface moisture as possible before drying. Starting the drying process with wet leaves makes moisture control harder.
How do you know when herbs are dry enough to store?
Leaves should feel crisp and crumble easily. Thin stems should break rather than bend. If any part still feels soft, flexible, or damp, continue drying before sealing the herbs in a container.
What temperature should I use to dry herbs in a dehydrator?
A low range around 95–115°F (35–46°C) is commonly used for herbs. Always follow the instructions for your dehydrator and begin checking the herbs early because drying time varies.
How should dried herbs be stored?
Store completely dry herbs in airtight containers in a cool, dry, dark location away from steam and direct heat. Keeping leaves mostly whole and crushing them shortly before use can help preserve aroma.
How long can home-dried herbs be stored?
Many dried culinary herbs retain good quality for up to about one year when kept dry, airtight, cool, and dark. Check aroma and flavor rather than relying only on the calendar.
Build a Simple Herb Routine From Growing to Storage
You do not need a large herb garden to create a useful harvest. Start with a few herbs you regularly cook with, learn what each plant needs, harvest modestly, and dry only the surplus you can prepare properly.
If you are planning your first herb garden, start with our guide to the best herbs to grow at home for beginners.