How to Dry Herbs Without Losing Their Flavor
To dry herbs without losing their flavor, harvest healthy leaves after the morning dew has dried, keep them out of direct sun, and use small bundles, airy trays, or a low-temperature dehydrator. Dry the leaves completely, then store them mostly whole in airtight containers away from light, heat, and moisture. The right method depends on the herb and how humid your home is.
Why Dried Herbs Sometimes Lose Their Flavor
Much of an herb's familiar aroma comes from volatile compounds in its leaves. Bruising, excessive heat, strong light, and lengthy storage can reduce that aroma. Drying cannot restore flavor that was already missing from a tired or damaged plant.
The goal is not to dry herbs as slowly as possible. It is to remove moisture gently but promptly enough to prevent spoilage. A loosely spread batch in a dry room may do well with no equipment; thick, wet leaves in a humid kitchen may need controlled airflow and a dehydrator.
Start with aromatic leaves, dry them in shade with good airflow, stop when they are crisp, and crush only when you are ready to cook.
Harvest and Prepare Herbs for Drying
Pick healthy herbs at the right time
For many leafy culinary herbs, harvest just before flowering, once morning dew has evaporated but before the hottest part of the day. Choose undamaged, clean, fragrant growth. Discard leaves that are moldy, unusually spotted, badly wilted, or heavily damaged by pests.
Use clean scissors and avoid stripping a small plant bare. For the right cuts and a healthy next harvest, browse the harvesting and herb-preservation guides.
Should you wash herbs before drying?
Inspect the harvest first. If the leaves have soil, insects, or debris, rinse them gently under cool running water. Shake off excess water, spread them on a clean towel, and pat dry without crushing the leaves. Let surface moisture evaporate before bundling or loading trays. Never leave washed herbs in a damp pile.
Identify each herb before use and avoid leaves exposed to unsuitable sprays or obvious contamination. Drying does not make a toxic, spoiled, or unidentified plant safe to eat.
Which Herb-Drying Method Keeps the Most Flavor?
Choose your method based on leaf thickness, moisture content, and room humidity. Sturdy herbs are often straightforward to air-dry. Tender, water-rich leaves need more attention, especially in damp weather.
| Method | Best use | What to watch |
|---|---|---|
| Small hanging bundles | Rosemary, thyme, oregano, and sage in a dry room | Thick bundles trap moisture. |
| Single-layer trays | Mint, lemon balm, and delicate leaves | Leaves need space and regular checks. |
| Low-temperature dehydrator | Tender leaves or a humid home | Use a gentle setting and remove dry leaves promptly. |
| Oven or microwave | A small batch when other methods are unavailable | Overheating and uneven drying can reduce quality. |
Start with thyme, oregano, rosemary, or sage if this is your first batch. Basil, parsley, cilantro, and chives can be dried, but their fresh flavor is harder to preserve; freezing may suit some cooking uses better.
How to Air-Dry Herbs Without Losing Flavor
Choose a clean, shaded, well-ventilated space away from steam and direct sunlight. A dry room is more useful than a sunny windowsill. If the space feels damp or leaves stay soft for days, switch to a low-temperature dehydrator.
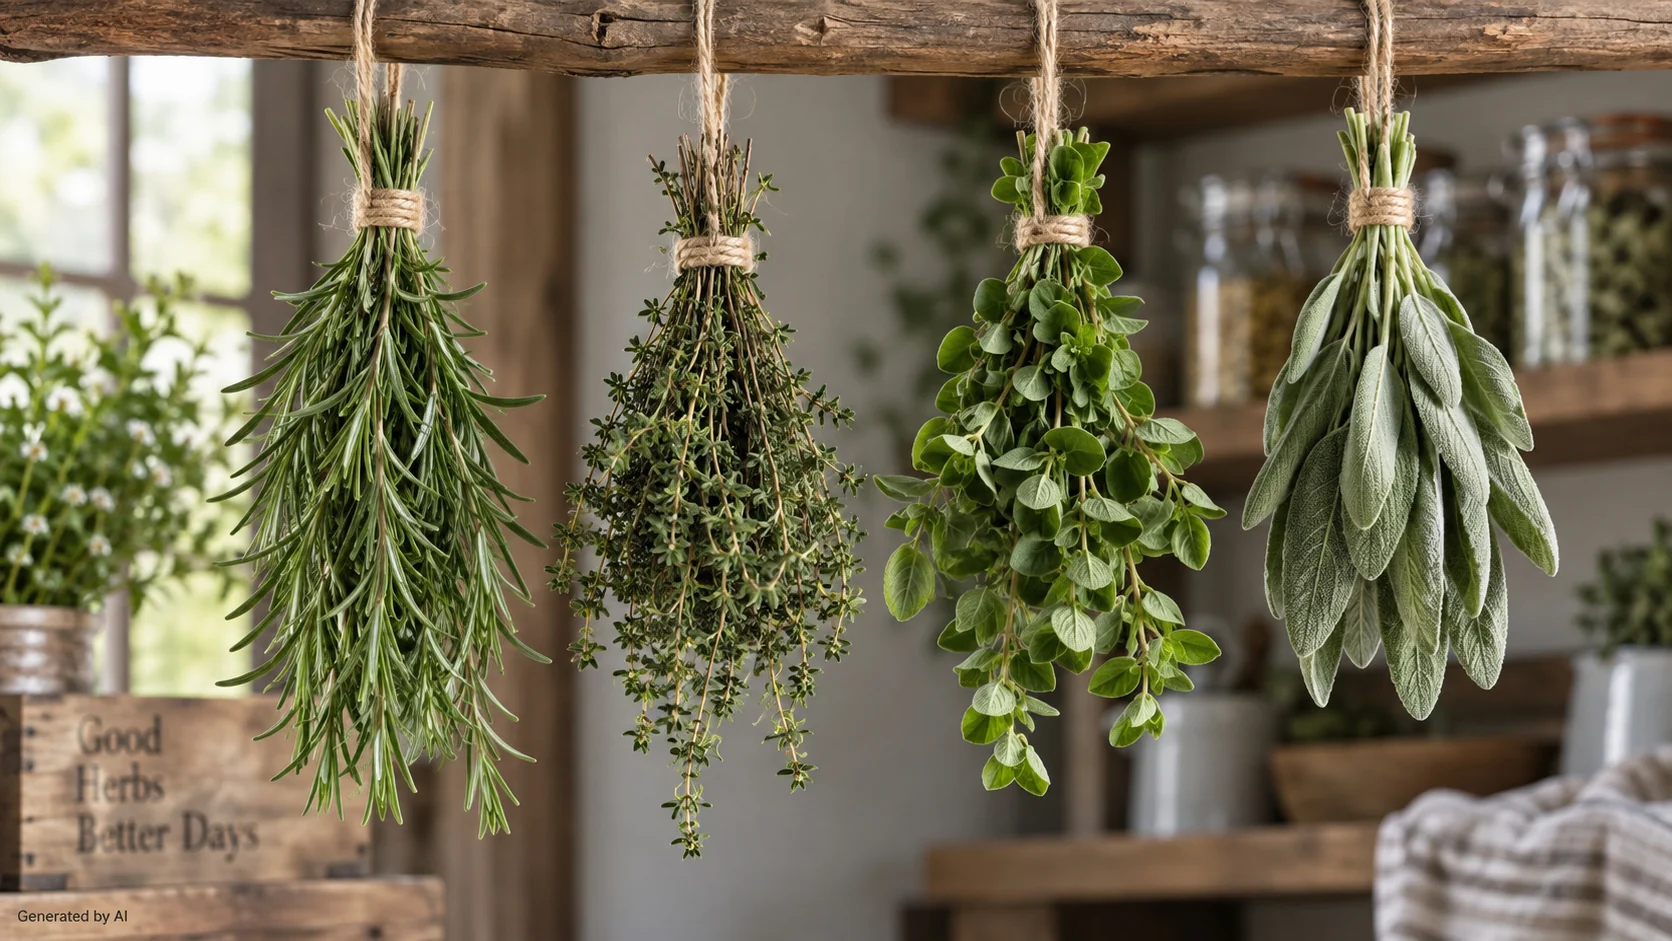
For sturdy herbs: hang small bundles
- Gather a few similar-size stems, about four to six per bundle.
- Remove damaged leaves and loosely tie the cut ends with string or a rubber band.
- Hang the bundle upside down, leaving space around it for air to circulate.
- Check the inner leaves regularly; separate any stems that remain damp.
- Take the herbs down when the leaves crumble readily and small stems snap.
For extra protection from dust, hang a small bundle inside a clean paper bag with ventilation holes. Avoid sealing the bag or crowding the foliage.
For tender herbs: dry leaves on trays
Spread basil, mint, lemon balm, or parsley in a single layer on a clean mesh tray or drying screen. Keep the tray shaded and airy. Check daily and gently reposition leaves when needed. Remove individual leaves as they become fully dry rather than holding the entire batch until the slowest leaf is ready.
It varies with the herb and conditions. Several days to around two weeks is possible; the crispness test matters more than a calendar estimate. Persistent dampness is a sign to improve airflow or change methods.
Using a Dehydrator Without Cooking the Herbs
A dehydrator is a practical option when humidity makes air drying unreliable. Set it to a low herb-friendly temperature. Oregon State University Extension recommends approximately 95–115°F (35–46°C) for most conditions; some humid settings may need up to 125°F (52°C). Follow your machine's instructions and favor the lower effective setting for aroma.
- Preheat the dehydrator to a suitable low setting.
- Spread clean, surface-dry leaves or small sprigs in one layer.
- Leave space between pieces so warm air can move freely.
- Check early and periodically. Separate fast-drying leaves from thicker ones.
- Remove leaves when crisp, then let them cool completely before packing.
A batch may finish in just a few hours, but leaf size, machine design, and humidity affect the timing. If a batch smells cooked or turns dark quickly, review the temperature and drying time before processing more herbs.
What about the oven or microwave?
They are less forgiving for delicate flavors. Many ovens cannot maintain the low heat that herbs prefer. If you use one, follow the appliance's safety instructions, choose its lowest appropriate setting, and monitor closely. Microwave drying also requires very small batches, microwave-safe materials, and short, closely watched intervals. For a valuable harvest, choose air drying or a controllable dehydrator first.
How to Tell When Herbs Are Completely Dry
Before sealing any jar, test more than just the leaves at the outside of the batch:
- Leaves: Feel crisp and crumble easily between your fingers.
- Small stems: Snap rather than bend when tested.
- Thicker pieces: Show no cool, damp, leathery, or flexible spots.
- After cooling: Stay crisp rather than softening again.
If a sealed sample jar develops condensation or the leaves soften, take the herbs out and continue drying. Do not treat this as a way to rescue herbs that already show mold. Discard any moldy batch rather than tasting it.
How to Store Dried Herbs So They Stay Aromatic
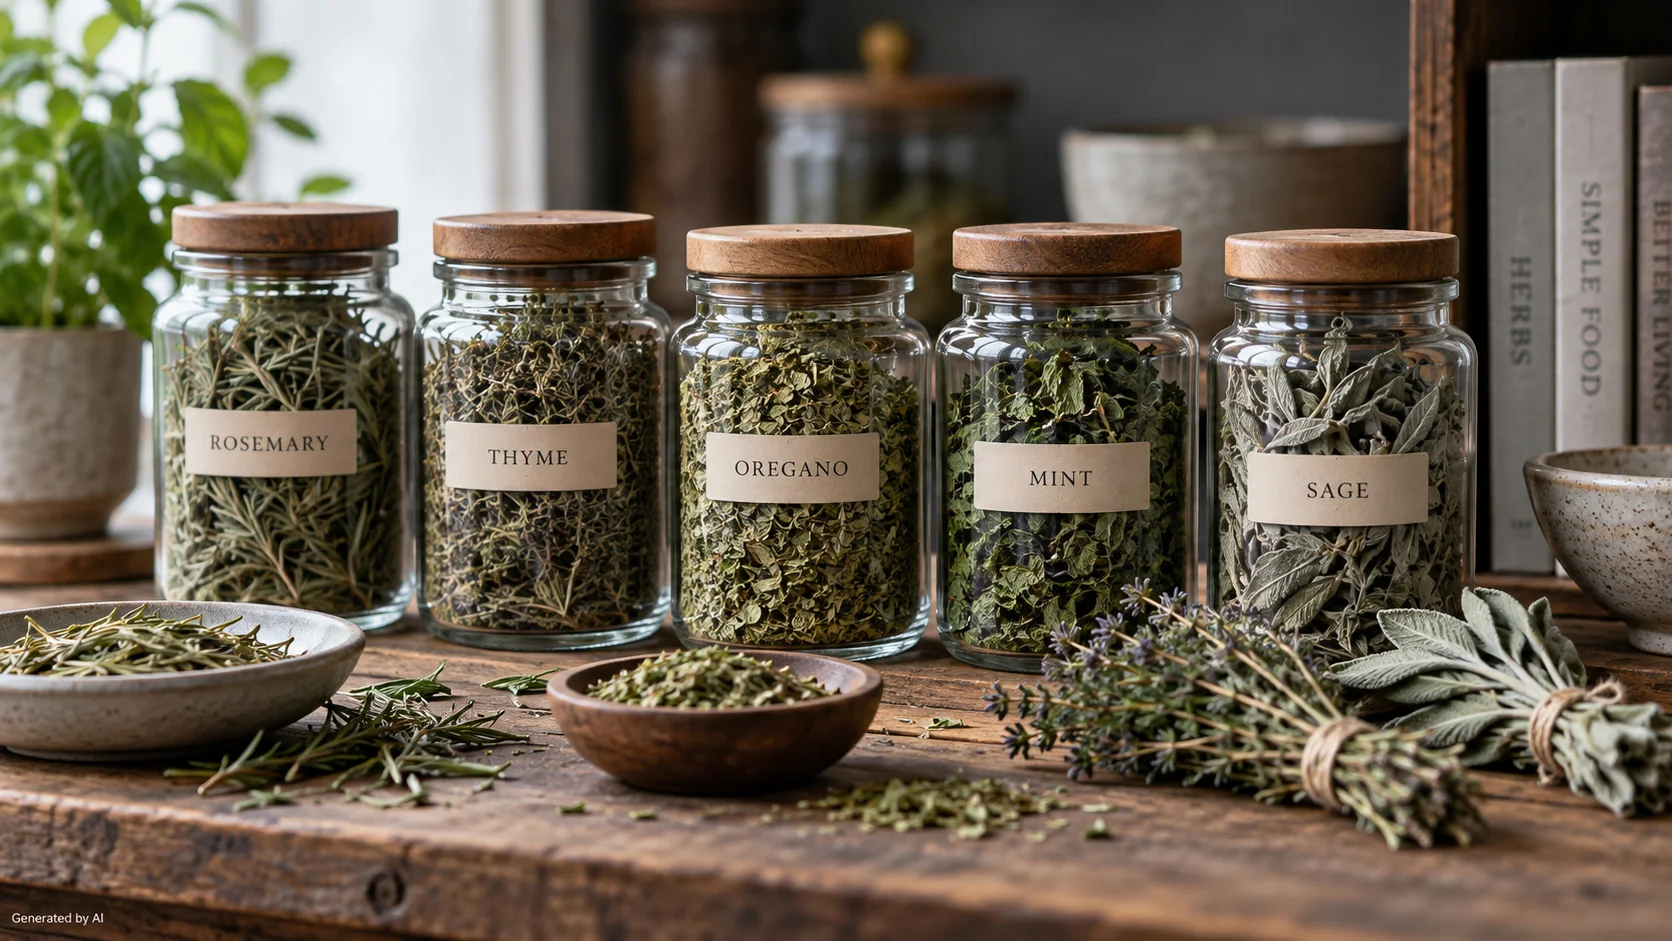
Storage is where a good drying job pays off. Pack fully dried, completely cooled herbs into clean, dry, airtight jars. Keep leaves as whole as practical, label the herb and harvest date, and place the jars in a cool, dark, dry cupboard rather than above the stove or beside a sunny window.
- Store each herb separately at first so you can check its quality.
- Open containers only when needed; avoid exposing the entire batch to steam.
- Crush or rub leaves immediately before adding them to a dish.
- Use the aroma as a quality check: if the leaves smell faint or dusty, they will contribute less flavor.
For the best culinary quality, plan to use dried herbs within about a year, often sooner for delicate varieties. If you find mold, moisture, or an unpleasant odor, discard the affected batch.
Herb-by-Herb Drying Guide
These are practical starting points, not rigid rules. The same herb can dry differently in a dry apartment and a humid kitchen.
| Herb | Good starting method | Flavor tip |
|---|---|---|
| Basil | Airy trays or a low dehydrator | Handle gently; consider freezing for fresh basil flavor. |
| Oregano | Small air-dried bundles | Keep leaves whole until cooking. |
| Thyme | Bundles or trays | Strip small leaves from stems once dry. |
| Rosemary | Bundles or trays | Store the needles whole and crush when needed. |
| Mint | Shaded trays or small bundles | Keep out of direct sunlight to protect color and aroma. |
| Sage | Trays, bundles, or dehydrator | Check thick leaves carefully for lingering moisture. |
| Parsley | Trays or low dehydrator | Expect a milder result than fresh parsley. |
| Chives | Low dehydrator | Freezing often preserves more fresh onion character. |
| Cilantro | Low dehydrator or trays | Freezing is often preferable when fresh flavor is the goal. |
Quick Checklist: Dry Herbs and Keep More Flavor
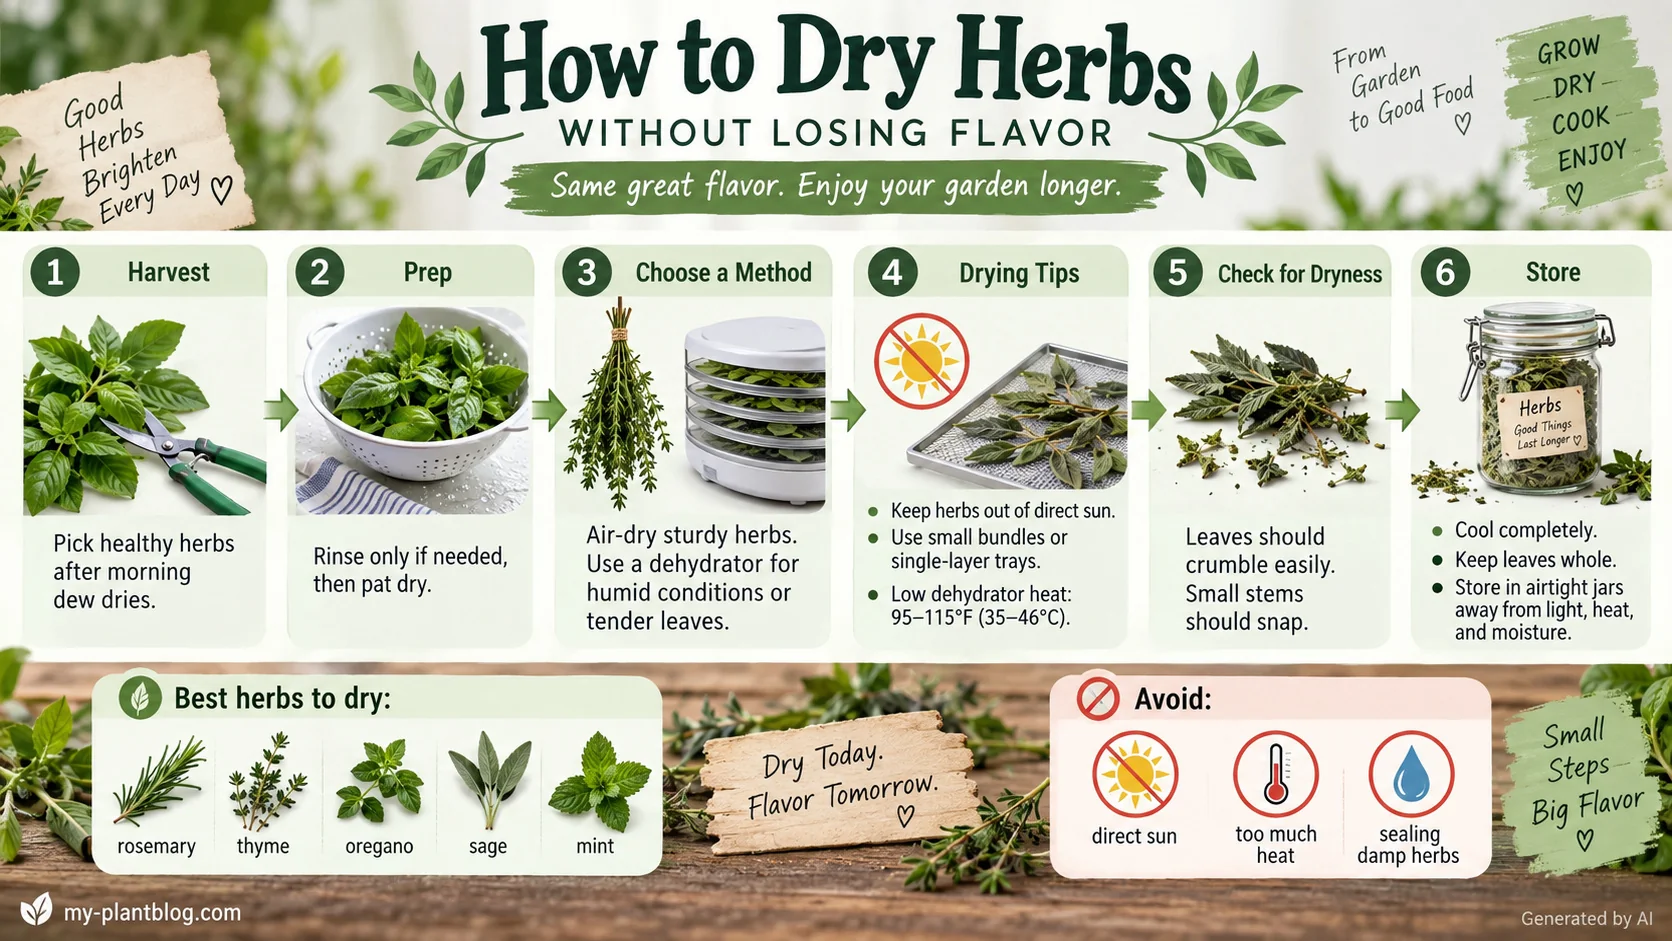
- Harvest healthy, fragrant leaves after dew has dried.
- Rinse when needed, then remove surface moisture.
- Keep herbs out of direct sun and away from kitchen steam.
- Choose small bundles, single-layer trays, or controlled low heat.
- Check often, especially with tender leaves and humid weather.
- Dry until leaves crumble and small stems snap.
- Cool completely and store whole leaves in airtight jars.
- Label, store cool and dark, and crush just before use.
If leaves are still soft or flexible, continue drying. Any visible mold means the batch should be discarded.
Five Mistakes That Make Dried Herbs Taste Flat
Direct sunlight
Bright sun can fade color and aroma. Dry in shade with airflow instead.
Oversized bundles
The outside dries first while inner leaves stay damp. Split large handfuls into smaller groups.
Too much heat
Hot drying can drive off delicate aromatic compounds. Use controlled low heat when available.
Storing before herbs are fully dry
Residual moisture can lead to spoilage. Check several leaves and stems, and cool the finished batch before packing.
Crushing leaves long before cooking
Ground herbs expose more surface area to air. Keep them mostly whole until needed and avoid warm, bright storage areas.
How to Use Your Home-Dried Herbs in Cooking
Dried thyme, rosemary, oregano, and sage are especially useful in soups, sauces, roasted vegetables, bean dishes, and stews. Add many dried herbs early enough to rehydrate and release their flavor; add a little more at the end if the dish needs it.
For a rough starting conversion, 1 teaspoon dried herbs can replace about 1 tablespoon fresh herbs, but taste as you go. Fresh and dried cilantro, basil, or chives do not behave identically, so this conversion is not universal. Rub a pinch between your fingers just before adding it to the pan.
Start with a little dried herb, taste the dish, and add more as needed. Dried basil, parsley, and cilantro can taste noticeably different from their fresh counterparts.
Frequently Asked Questions
Is air drying or a dehydrator better for flavor?
Air drying works well for sturdy herbs in a genuinely dry, well-ventilated room. A low-temperature dehydrator is often more reliable for tender leaves or humid homes. Both can preserve aroma when herbs are dried gently and completely.
How long does it take herbs to dry?
Dehydrators can finish some batches within a few hours; air drying may take several days or longer. Conditions vary, so rely on leaves crumbling and small stems snapping instead of a fixed time.
Why did my dried basil turn brown?
Bruising, excessive heat, slow drying, and natural changes in leaf pigments can contribute. Use a single layer, handle leaves gently, and avoid high temperatures.
How long do dried herbs keep their flavor?
A cool, dry, dark cupboard and airtight containers help. Aim to use most home-dried herbs within about a year for good aroma, and check delicate herbs sooner. Discard herbs that show mold or moisture.
Further Reading
For additional home-preservation guidance, see Oregon State University Extension: Drying Herbs.
Start With One Small, Fragrant Batch
Try thyme, oregano, rosemary, or sage first. Harvest gently, dry patiently, and pack only crisp leaves. Then enjoy that familiar garden aroma whenever you open the jar.
Growing herbs for your next batch? Check how much light your plants receive and use the potting mix, not a fixed schedule, to judge when to water your herbs.